High disk usage can be tricky to fix, but here are the common reasons why it happens and how you can solve it and make Windows responsive again.
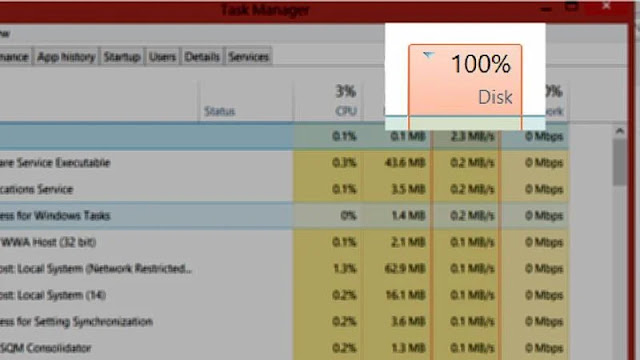
When a process, or a combination of processes, demand too much of your computer’s hard disk everything can slow to a crawl. It’s probably the unresponsiveness that’s led you to check Task Manager where you’ve discovered that your disk is maxed out.
Finding the problem is just the start though: you still need to fix whatever is causing it to get back to normal.
Method 1. Restart your computer
The first thing to try - as with most Windows problems - is to turn it off and on again. It sounds too simple, but it can often cure issues that you might otherwise spend a long time investigating.
Be aware that you can't use the Shut Down option if you have Windows 10, as this saves the system state so it can start up faster. And that means problems don't go away.
Instead, use the Restart option which shuts down everything properly and performs a 'clean' restart.
After that, if the problem persists, leave your computer alone for an hour or so to do whatever it needs to. It might be that the weekly virus scan or a scheduled backup is happening.
These shouldn't cause such a problem, but if you have an older computer with a relatively slow hard disk, it might be more noticeable.
In this case, it can be worth upgrading your old disk to a much faster SSD. We have found this can fixe the problem in aging laptops with old, slow hard drives.
Before you change your drive, run a scan for viruses using whichever software you have installed: malware might well be the issue. You do have antivirus software don't you?
Method 2. Task Manager
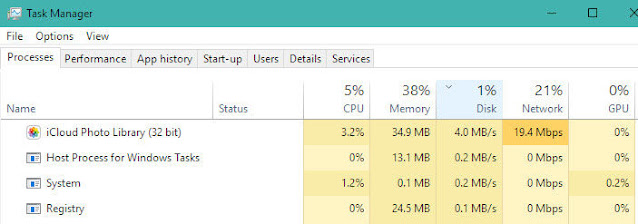
If you haven't done so already, look in Task Manager to see which app or process is thrashing your disk.
A quick way to launch it is to press Ctrl+Shift+Esc together. Click the 'More details' arrow if Task Manager isn't displaying the full interface, then click on the Disk column header to rearrange the list so it's ordered by Disk Usage with the highest at the top.
This might be all you need to identify which app is thrashing your disk, but more often than not it will be a Windows service rather than an app causing the problem.
If it is an app, right-click on it and choose End Task. This should stop it and you should see disk usage drop right down. Obviously this isn't a solution if you need to use the app in question, so it's worth searching online to see why that app or Windows service might be constantly maxing out your hard drive.
Method 3. Storage driver
And if you can't see any process using a lot of disk resources, it could be that your computer is using the wrong storage driver. Microsoft is well aware of the problem and this is the 'official' solution to the 100% disk utilisation problem.
In a nutshell, it's a firmware bug in some SSDs which causes Windows to think it hasn't completed a task and resets the device repeatedly.
The fix is to disable 'MSI' mode, but only if you are running the inbox AHCI driver. Step-by-step instructions can be found on Microsoft's website.
However, of all the Windows 10 laptops and PCs we've seen with 100% disk usage, none have suffered from this particular problem.
Method 4. Update Windows
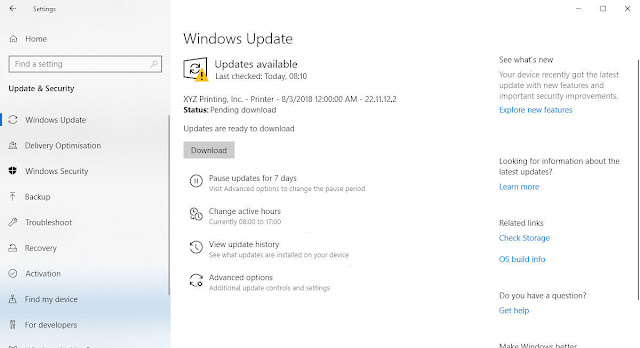
Similar to restarting your PC, you'd be surprised at how effective updating Windows fixes problems. We have fixed at least one Windows 10 laptop with 100% disk usage by installing the latest updates.
To check if Windows is up to date, open up Control Panel and go to System and Security, then click on Windows Update.
In Windows 10 open the Settings app (Start menu > cog icon) and then click on Update & security.
You might see a 'Check now' button or 'Install now' if updates are already downloaded.
Uncommonly, a Windows feature will be the cause of the problem. Some people have found that Search causes high disk usage and disabling the feature fixes it.
Others say that disabling Superfetch, BITS, the Print Spooler or even sound effects can cure it.
However, although you can go down this route, it isn't one we recommend. Turning off features such as the Print Spooler means you won't be able to print until you enable it, and none of these should be the fundamental problem: they don't cause 100% disk usage under normal circumstances.
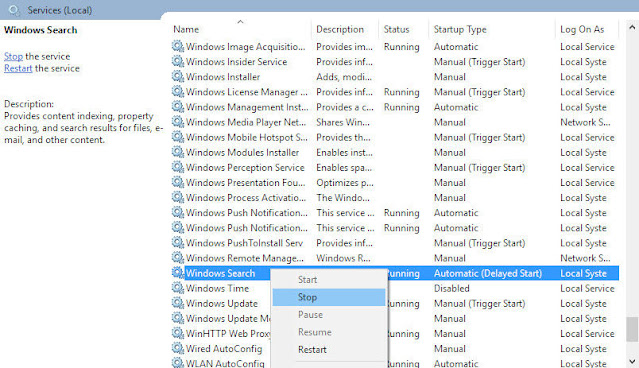
Still, if you want to temporarily disable a service to see if the problem goes away do this:
Press the Windows key and R together. Type services.msc in the box which appears and hit Enter.
Now, the Services window will open. Scroll through the list and find the one you want, right-click on it and choose Stop.
If all else fails, and this is a very extreme course of action, you can reinstall Windows.
Windows 10 has a few options that make this easy. One is 'Reset this PC' which lets you keep all your documents and files, but you can also completely wipe your hard drive and start again from scratch.


0 comments:
Post a Comment